
The Ultimate Guide to Curing Cannabis Buds
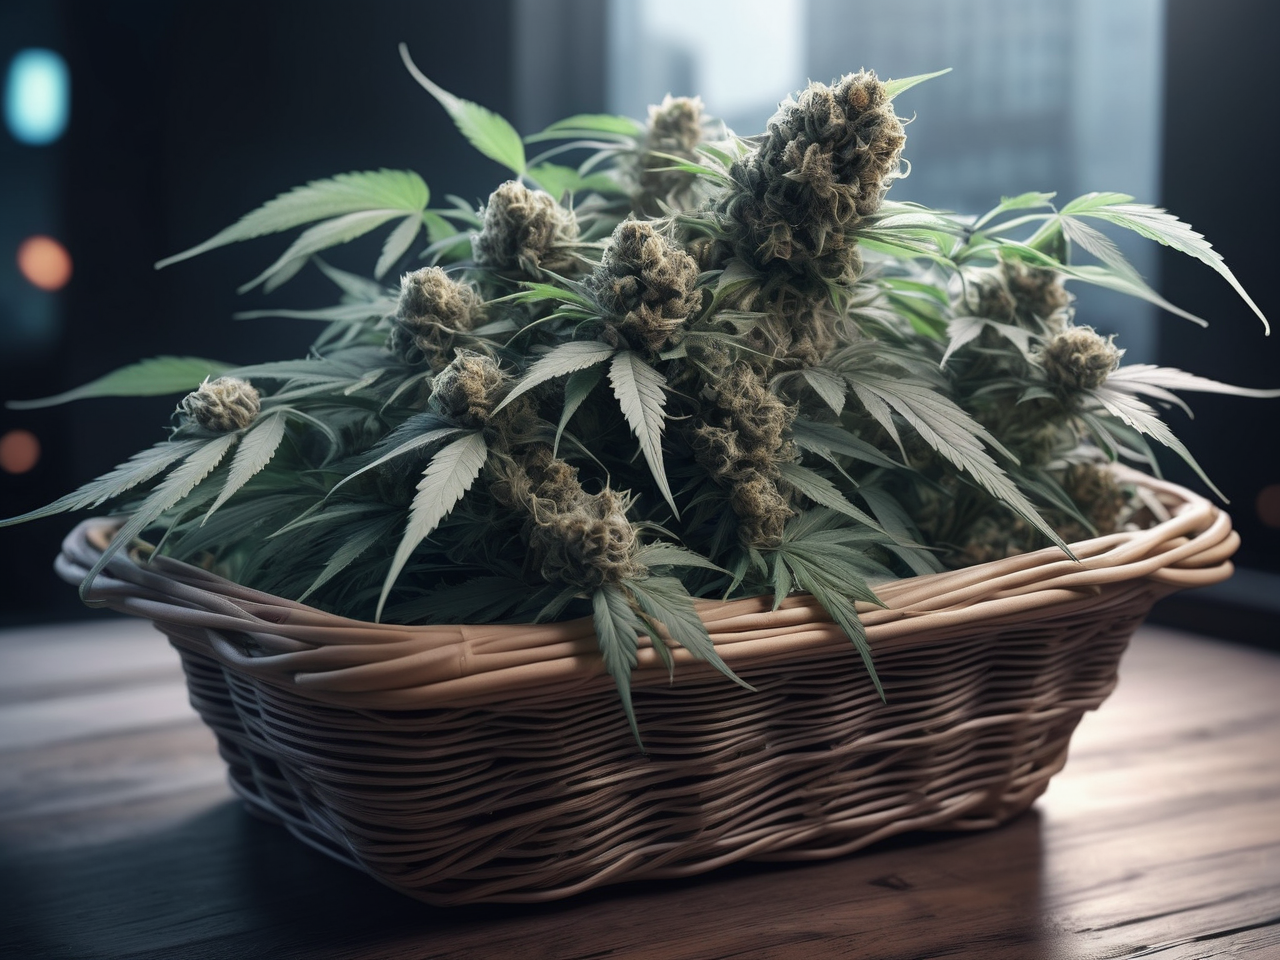
Properly curing cannabis is pivotal to enhancing its quality, flavor, and potency. It also ensures the hard work put into growing the plant doesn't go to waste. Here's a step-by-step guide to ensure optimal results:
1. Set Up a Suitable Drying Environment:
After harvesting the flowers when the soil is moderately dry, find a small, secluded room. Here, you will hang your buds upside down by their stems. Using coat hangers or heavy-duty string stretched across the walls can be helpful. While hanging, ensure that large fan leaves and any dead leaves are removed.
2. Dry the Flowers:
The drying process varies, taking between 5-14 days based on room conditions and the moisture content of the buds. Aim to maintain a room temperature of 18-20 degrees Celsius with humidity levels around 50-60%. It's important not to rush this step. Instead of rapidly venting air, allow the flowers to dry naturally. Use small oscillating fans positioned beneath the hanging flowers. This ensures good air circulation, preventing any stagnant air pockets.
3. Check for Drying Completion:
The readiness of the flowers can be determined by lightly bending the smaller branches. A clicking sound indicates readiness, while the absence of it means more drying time is needed.
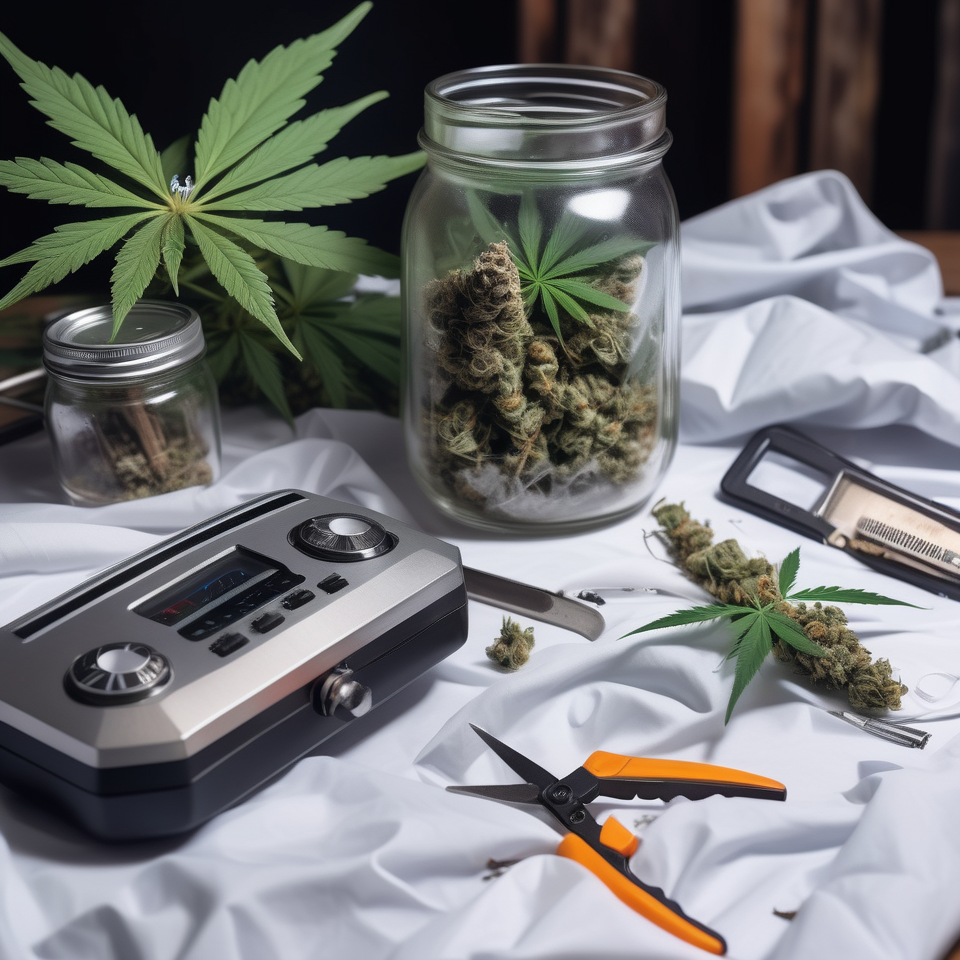
4. Prepping for Trimming: Gather the following:
Radio (for entertainment) Beverages (optional) Friends (optional, but they can make the process enjoyable and efficient) Several pairs of pruning shears Trimbin or propagation tray Disposable party sheets Isopropyl alcohol Glass cup Mason jars (2 liters or less for optimal curing) Boveda 62% 8g humidity packs (one for each jar)
5. Trim and Store:
Together with friends, methodically trim the buds. Aim to remove as much of the sugar leaves as you can, enhancing the overall aroma and flavor. Regularly swap out shears for those soaking in isopropyl alcohol to maintain sharpness. Once trimmed, place buds in Mason jars, filling them about ¾ full to ensure adequate airflow.
6. The Curing Process:
Retain the room's temperature between 18-20 degrees Celsius. There's no need for oscillating fans now. For up to 14 days or longer, "burp" the jars daily. This involves opening them, spreading the buds flat for around 30 minutes, and then returning them. This enhances the flavor and aroma. Don't be alarmed if a hay-like odor emerges temporarily; the true aroma will develop over time. Monitor the aroma during this stage. An ammonia scent indicates potential mold risks, suggesting that the buds may need additional drying.
7. Humidity Packs and Storage:
After achieving the desired dryness level, add a Boveda 62% 8g humidity pack to each jar. This helps in maintaining the perfect bud moisture, preventing over-drying or excessive moisture. For long-term storage, keep jars in a cool, dark environment, as light, especially UV light, can degrade the potency of the buds.
Additional Tips:
Mold Vigilance: During curing, be on the lookout for mold or mildew. If detected, remove the affected buds promptly to safeguard others. Extended Curing: Some cultivators swear by an extended curing process, storing jars for several months to further refine the flavor and smoke smoothness.
With this comprehensive guide and a bit of patience, you're well on your way to enjoying high-quality, homegrown cannabis. Remember to replenish your supplies from your trusted Holland Industry store. Enjoy your cultivation journey!
| 0 Replies | 480 Views |